SHAPING NOTE PITCH part 1
Topics: the shape view
This example provides an introduction to directly shaping the pitch value for multiple notes. Most of the walkthrough requires a Temper A license, although if you're knowledgeable with the Sha-P tool you can use it for the same effect.
Before we start, note that this walkthrough applies equally to note velocities and controller values.
Start a new song with a single VST instrument track (Tracks->Add MIDI Track->(select a VST)) and a measure of 16th notes so we can clearly see the example.
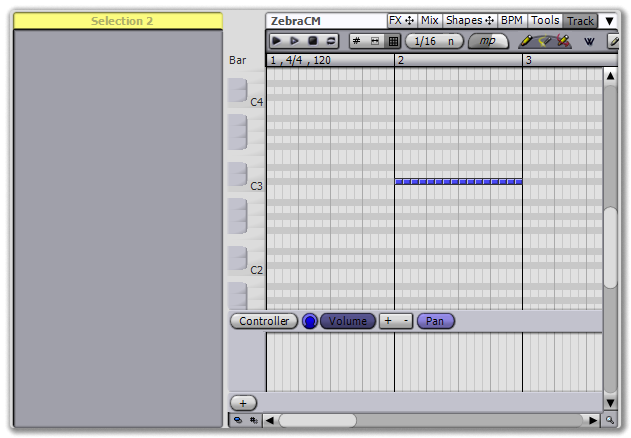 |
| the initial song |
Select all of the notes (if you have a 3-button mouse, middle-click in empty space and drag to box select the notes, otherwise activate the Wand tool and use that to perform the selection). This opens a Notes inspector with appropriate functions.
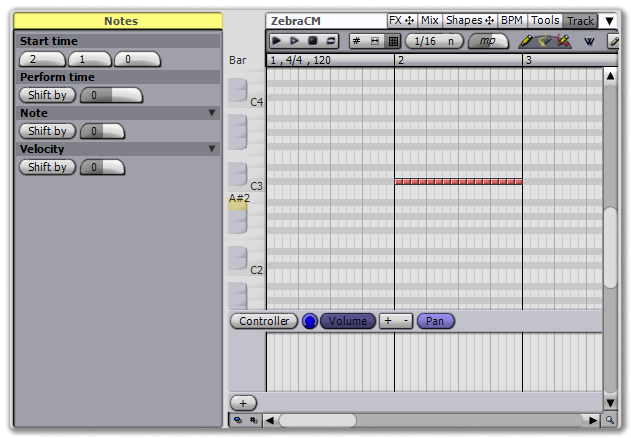 |
| after selecting the notes |
Let's take a quick look at the group tools: In the Note section, there are two controls, a Shift by button, and a number knob. Click on the knob and drag it, and you'll see all of your selected notes are moved by the chosen value. Alternatively, you can change Shift by to Set to, and the note values will be replaced.
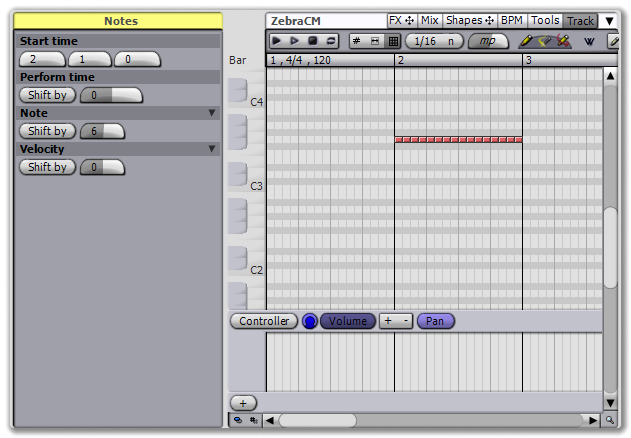 |
| using the Note Shift by control |
Note: The steps below require a Temper A license.
If you like, undo your changes (either via the menu or with CTRL-Z). Now, click on the expander in the Note section and the Shift by controls will be replaced with a shape view. This view is used to assign a different pitch to each note in the selection, according to the shape.
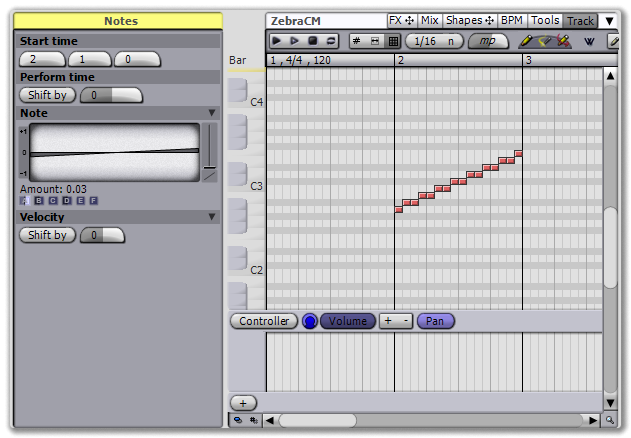 |
| after expanding the Note section |
Before we go any further, let's acknowledge something: Our experiments with pitch will be a lot more useful if they're kept in the current key signature. To enforce the key, first make sure you have one selected by clicking the current key (the default is C Chromatic) in the song ruler and selecting a key.
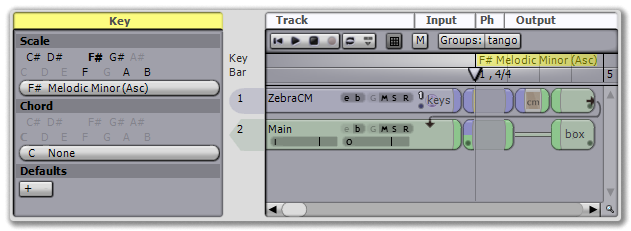 |
| changing the current key |
Back in the track editor, you can choose to highlight the notes in the current key by using the control to the left of the bottom scroll bar, and then make sure you have turned the key grid on by clicking the key toggle to the right of the transport controls (shown highlighted below).
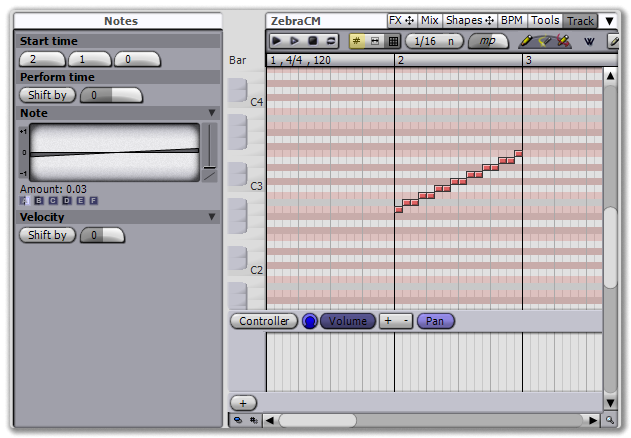 |
| enforcing the current key |
Now that the key is on, let's make a change to the shape: Click the button labeled 'A' beneath the shape view (it will be labeled "Amount" when you hover the mouse over it) and drag up a little ways. You'll see the shape enlarge in the view, and your notes will be regenerated with the new, larger shape. Additionally, since the key grid is on, they will now be in key.
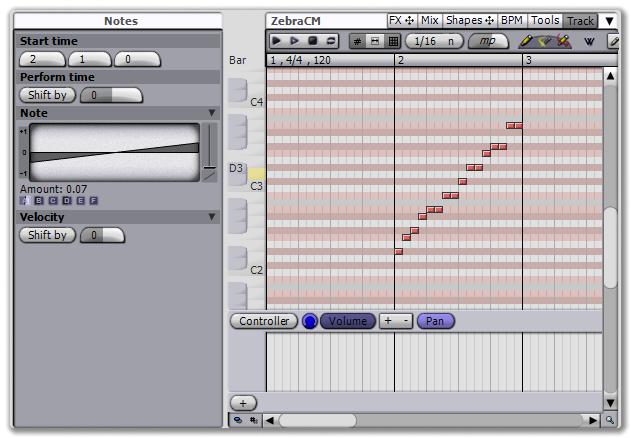 |
| increasing the amount |
There are 5 basic controls: A, Amount, controls how much the shape is currently being applied. You can use it primarily to keep changes to pitch under control. The B control, shift, lets you move the shape around the center axis. This is useful when shaping velocity, for controlling how much the shape is increasing versus decreasing the existing velocities. The C control, Noise, lets you add a bit of randomness to the experiment. The D control, Curve, adds a curving effect to the shape. Finally, the E control, Sync rate, lets you lock the shape to measures, half notes, etc.
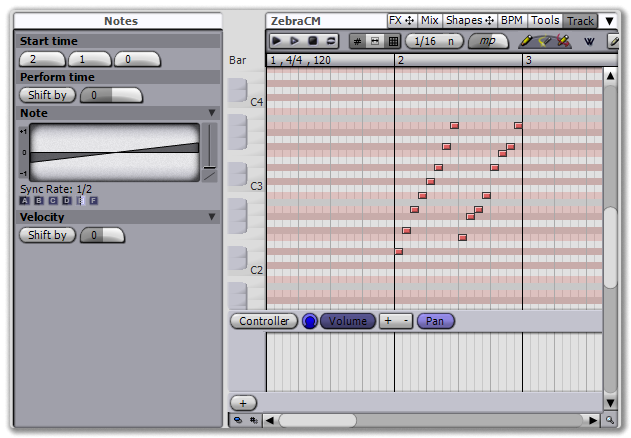 |
| applying a sync rate of 1/2 replicates the shape in each half note |
There are possibly other controls, depending on the current morph. The morph slider to the right of the shape view lets you morph between all the shapes currently in the pitch category (the morph category will vary based on the current shape view, if you are controlling pitch, it will be the pitch category, if you are controlling velocity it will be the velocity category, etc.).
Try working with the controls a little, morphing between the default pitch shapes, changing knobs until you find something you like
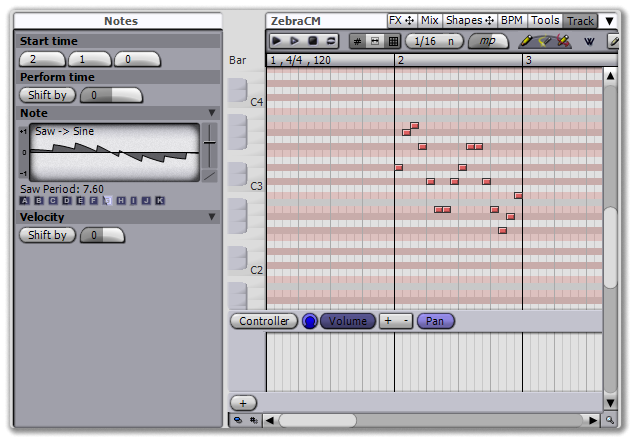 |
| after changing the morph and saw period |
Once you have a decent note progression, let's capture it: Locate the Shapify tool on the tool bar and use it to select your notes. Shapify defaults to creating a shape based on velocity, but we're working with note pitch, so in the Settings section, click the Velocity button and select Note. You should see a shape representing your current selection: The first note is always the root, placed at 0 in the shape, with all other notes shifted above or below it.
Make sure you press on the Categories button in the Creating section and select Pitch to assign the new shape into the pitch category, then press the Add Shape button, and a new shape will be added to the shape database, with the name appearing below the button.
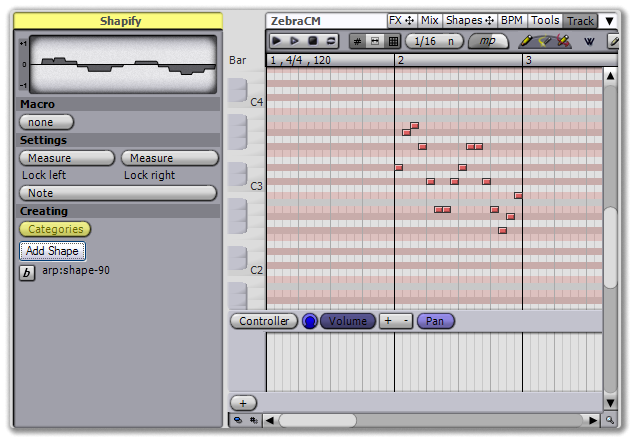 |
| turning our selection into a shape |
Once again return your notes to the original state, with no pitch information, then select them and expand the Note section. Make sure to put the A Amount knob at 1 -- we're applying a shape that needs the full pitch range to work correctly -- then drag the morph slider all the way to the top. The selected notes will be morphed according to the shape we just made, returning them to that same state, and allowing us to reuse this pattern on other notes.
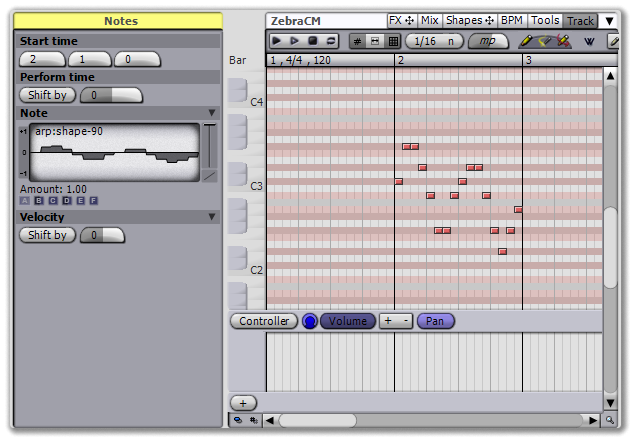 |
| turning our selection into a shape |
Is that enough shaping for you, or do you need more? It's OK to say you need it and continue to part 2.